If you’ve recently migrated over to Marketing Cloud an important step will be to set up the Sender Authentication Package (SAP) and SSL certificates. This walkthrough will take you through each step working with the skilled team at Salesforce Marketing Cloud support.
What is the SAP?
Let’s borrow right from Trailhead: “gives you tools to validate your brand as an email marketing entity and give you access to the inbox.” To learn more please navigate to this very helpful article: https://trailhead.salesforce.com/content/learn/modules/send-management-in-marketing-cloud/get-to-know-the-sender-authentication-package
The primary goal of setting up the SAP is to setup a dedicated domain. In our example today we are going to walk through setting up a domain for our company Cervello. Our domain is mycervello.com. When I send an email from my email account it will come from tziter@mycervello.com.
A great feature of the SAP is the ability to create a dedicated domain. This will allow us to protect our original domain and create our own domain for our Marketing Cloud emails. It’s recommended to use a subdomain so that it will be recognizable to the end user. We’ll follow the example from Salesforce and create a subdomain called mail.mycervello.com.
Get Started – Reach out to support
If you didn’t receive an email to set up your Sender Authentication Package open a support ticket and provide the following informaiton:
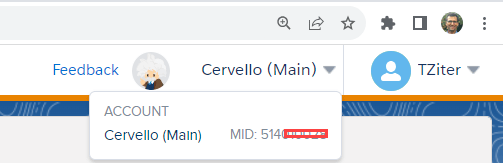
(1) Your MID. To find this number in Marketing Cloud hover over the instance name in the upper right corner.
(2) The name and the email address to send the SAP email.
Very soon you should receive an email that looks like the following:
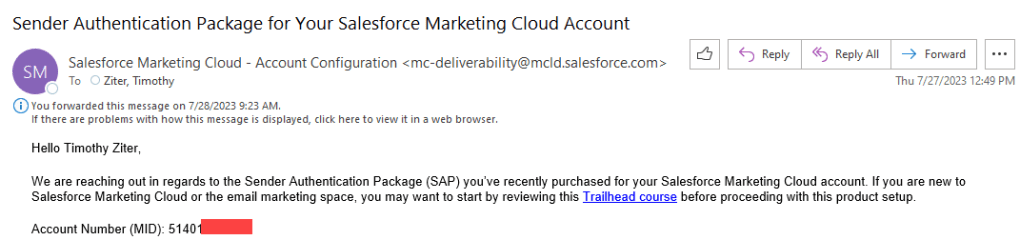
The most important part of this email covers the domain configuration options. You can either let Salesforce to host the domain/subdomain or your IT team host. Check with your IT department or administrator of your domain to see which option is preferable.

In this example we’ll continue by having our IT host the DNS records. In checking with our IT team we confirmed that the subdomain will be mail.mycervello.com and moved ahead to fill out the form that was included in the email as a link.

(1) Enter in the domain/subdomain
(2) In our case this was to be assigned to this account only
(3) Yes we are hosting our DNS records
(4) Given for our account we are under 250k sends a month we can’t support our own IP so we’ll need a shared one.
A day or so after submitting the form look out for an email from the deliverability admin at Salesforce.

Forward this email or send the attached txt document to your IT team to update the DNS records. The text doc should look like the following:

Once confirmed the update is complete reply to the Salesforce Deliverability Admin and you should receive a confirmation email that everything is set up correctly.

(1) Confirmation of what was submitted on the form
(2) Don’t forget to set up the SSL Certificates which we will cover in another post
How to enable your new subdomain
Now that you have a domain setup modify the Sender Profiles to utilize this new domain:
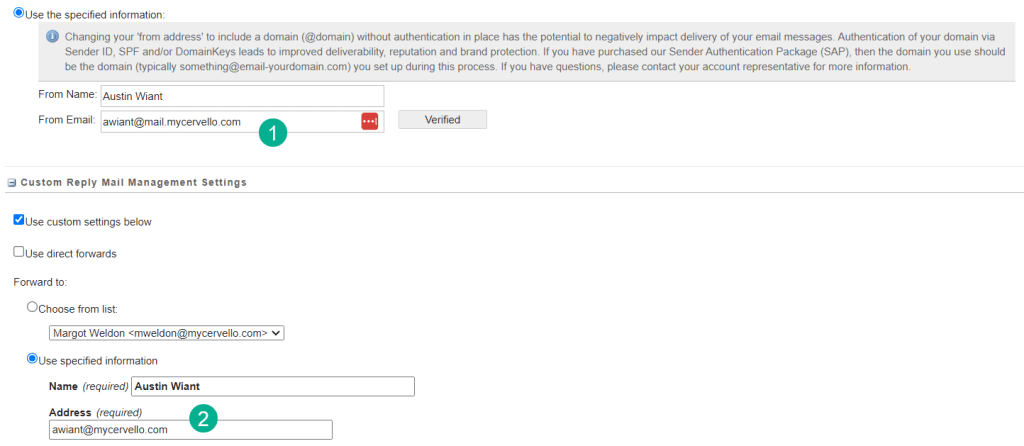
(1) Make sure all From Email addresses now include the new subdomain like our case mail.mycervello.com.
(2) Enabling the Reply Mail Management function when a subscriber replies to an email it won’t be sent to mail.mycervello, but to the mycervello.com domain.
Testing the email send we see the mail.mycervello domain coming through.
Troubleshooting
Check your bounce records to see if you are receiving any DMARC errors. Create a simple query to output your daily bounce activity to a data extension:

(1) Utilize the bounce data view: https://help.salesforce.com/s/articleView?id=sf.mc_as_data_view_bounce.htm&type=5
(2) Output the SMTPBounceReason field

In the data extension view the reasons to see any DMARC message errors:

And reach out to support to confirm/validate any DMARC errors. Support will ask you to send an email to reputation@etreputation.com.
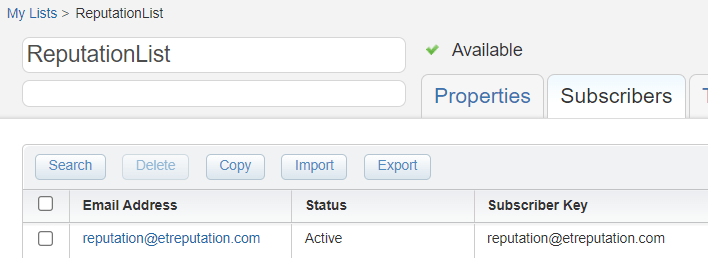
(1) Create a list that contains the reputation@etreputation.com address
(2) Create a User Initiated Send that contains a test email content, the updated sender profile and the newly created list.

(1) User Initiated Send name
(2) Sample email creative for testing
(3) Sender profile using the mail.mycervello.com subdomain
(4) The new list that contains reputation@etreputation.com.
Good luck and have fun setting up your Sender Authentication Package!
