
Email to Case is a great way to automatically create cases in Salesforce when a customer email customer service. Now although this functionality doesn’t involve Marketing Cloud, as an email expert in your organization you might need to set up Email-to-Case.
Step I: How to configure Email-to-Case
In Setup search for Email-to-Case.

(1) Email-to-Case will appear in the search menu.
(2) Click Edit.
(3) Make sure you click on “Set case source to email” as we want the case to be set to the person sending the email.
Next you’ll want to set up a new Email-to-Case:

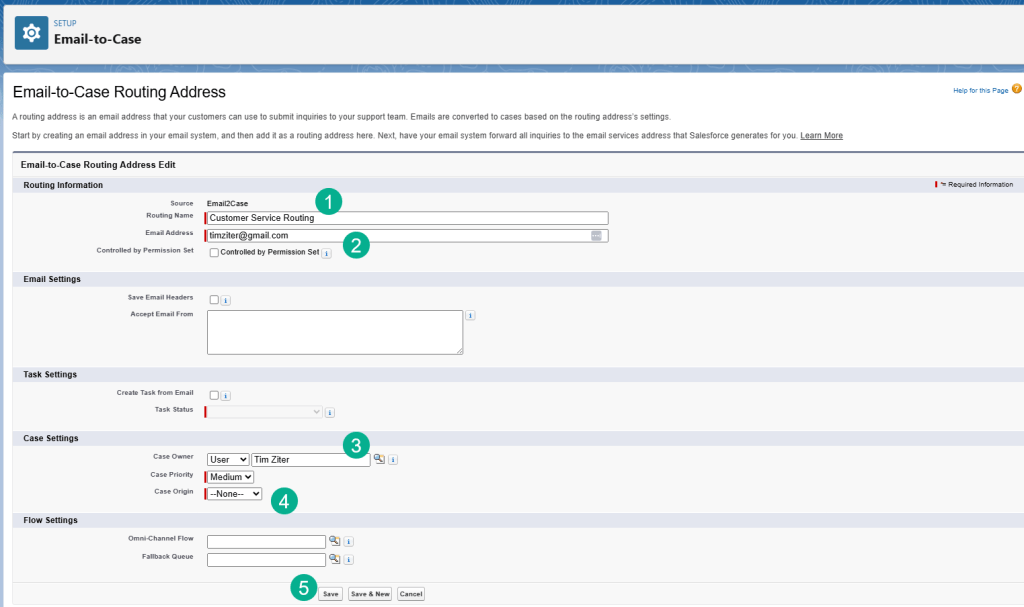
(1) You’ll want to name the Email-to-Case in this case we are using Customer Service Routing.
(2) You’ll want to include the customer service email address.
(3) Select either a user or a queue to be assigned to the case.
(4) Origin most likely will be Email.
(5) Click save.

You’ll end up with an Email Services Address which you’ll want to provide to your tech team to use as a forwarding address.
You should receive an email from Salesforce to verify the Salesforce Email Routing Address:
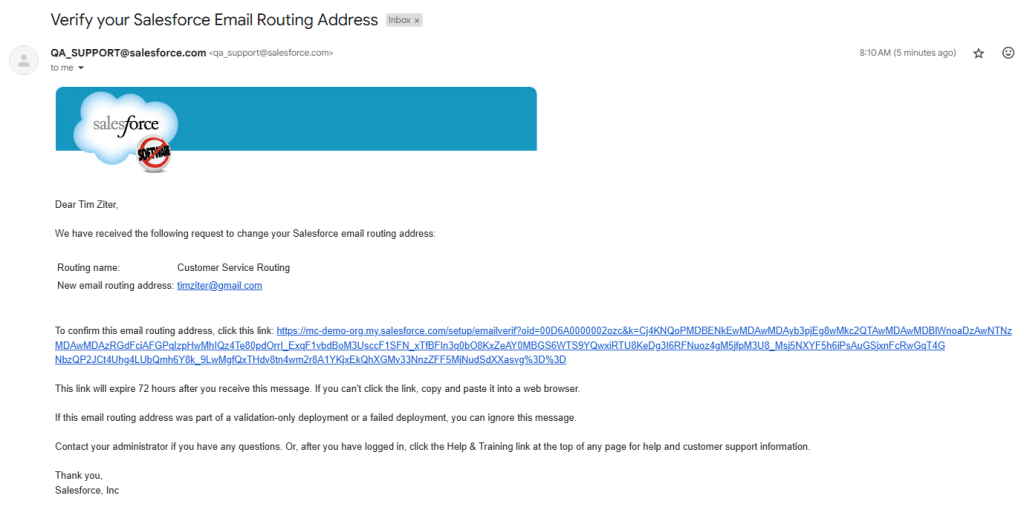
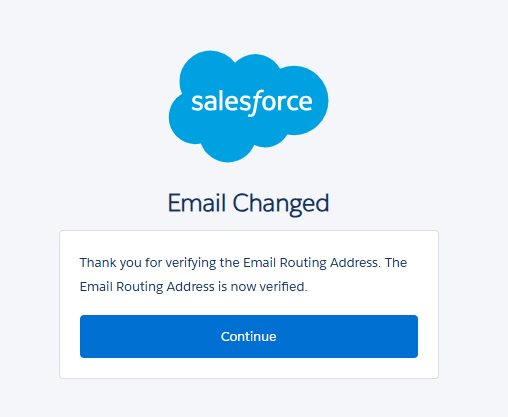
Click the link which will send a confirmation screen in Salesforce, click on Continue which will take you to the home page.
Step II: How to set up forward email logic
Now that you’ve got set up the forward email logic you’ll want to configure your test email to forward emails to create cases. We will use our Gmail address as an example.

(1) Navigate to your Gmail client.
(2) Select the Settings gear icon.
(3) Select “See All Settings”.

(1) Click the Forwarding tab.
(2) Click on the “Add a forwarding address” button.
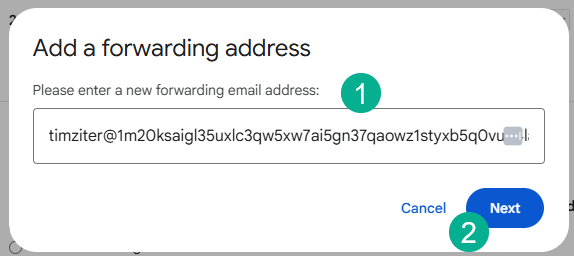
(1) Enter in the Email Services Address that was created above.
(2) Click Next.
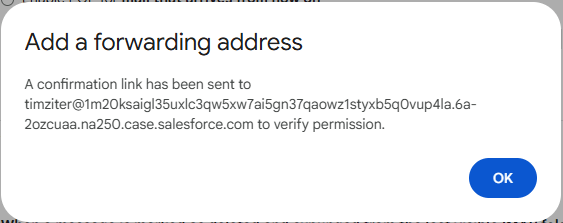
This should create a case in Salesforce to confirm. You can click Ok.
Now you want to navigate to the case that was created in Salesforce

(1) Under the Cases tab.
(2) Select All Open Cases.
(3) You should see the case that was just created.
(4) Select the case.
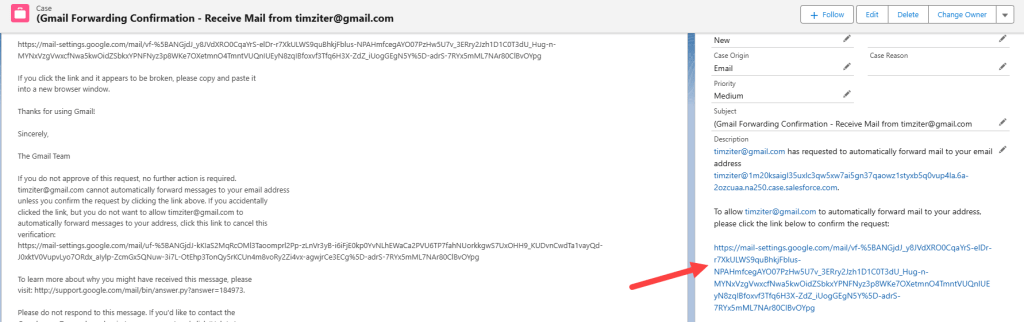
In the body of the case click on the link to confirm the request.

Click the Confirm button.
Back in Gmail:

(1) Click on the “Forward a copy of incoming mail to”.
(2) Enter in the Email Services Address.
(3) You might want to select that the email is read.
Then click the button at the bottom of the screen to complete the process.
How to test an Email-to-Case send

(1) Draft an email to the email address.
(2) Add a test phrase in the Subject.
(3) And in the body of the email.
You should receive a case.

(1) Select all open cases.
(2) Click into the case.
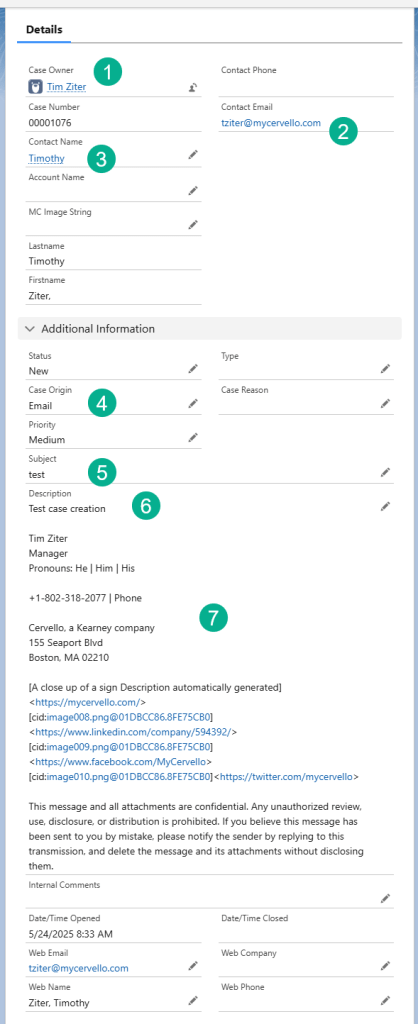
(1) This should be assigned to the user in the settings.
(2) The contact email should be the person who sent the email, not from the forwarding email address.
(3) A contact should be created with the right email address, not timziter@gmail.com.
(4) The case origin should be “Email”.
(5) The subject line should come through.
(6) As well as the body of the email or Description.
(7) And the sample of the email should be present as well.
That wraps up the overview of how to create an Email-To-Case functionality in Salesforce. We’ll cover additional topics like Auto Response rule set up in future posts.

Leave a comment