
All Subscribers is the database of record in Marketing Cloud of the subscriber status and history for all records that have been sent an email in Marketing Cloud. The primary identify of a subscriber is not the email address but a subscriber key which is a unique value that identifies the subscriber. That subscriber key can be an email address, but it also could be a contact/lead/user ID from Salesforce or any other unique identifier.
Today we will walk through using the All Subscribers UI which is a very helpful way to check subscriber status for an individual record or all records associated with an email address. For a more detailed explanation of All Subscribers please refer to this helpful documentation from Salesforce: https://help.salesforce.com/s/articleView?id=sf.mc_es_all_subscribers_list.htm&type=5
There are two ways to check a subscriber status in the All Subscribers list, the first is going through the Marketing Cloud UI under the subscriber tab.

(1) Select the Subscribers Tab.
(2) Select All Subscribers.
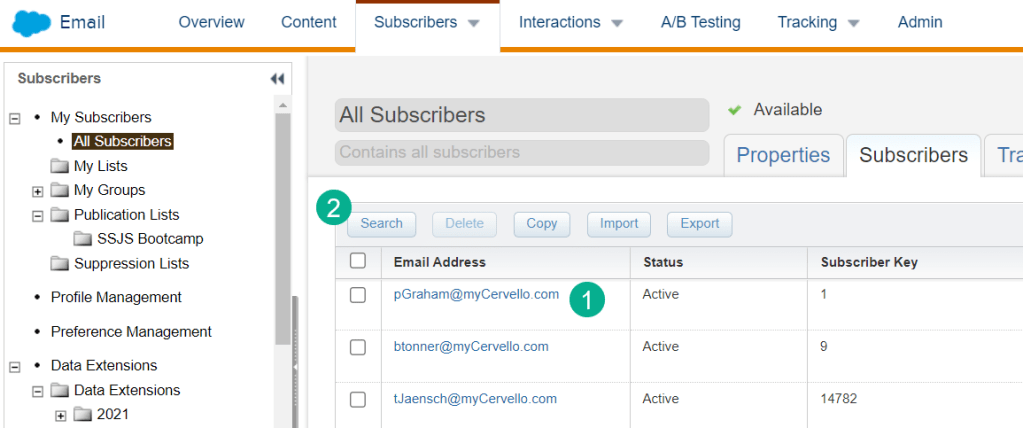
(1) You can navigate through the list that comes up but for the most part
(2) Use the search button to search for a subscriber.

(1) Select Subscriber Key (we’ll walk through selecting email address below)
(2) Enter in the subscriber key here
(3) Select Find Now
(4) Your subscriber will appear here
Alternatively if you select the email address you will see all subscribers associated with that email address.
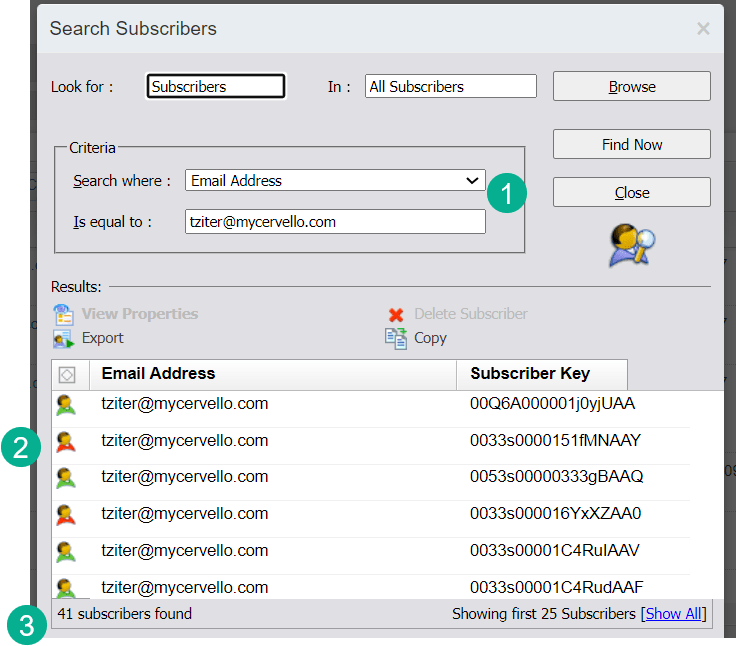
(1) Select email address instead
(2) In the search result all known subscribers will be displayed. At a glance you can quickly see the subscriber status depicted by the color of the shirt.
(3) Subscribers found can be helpful to note especially if you see multiple subscribers for each email address.
All Subscribers Tip:
Be mindful of how you are setting and using the subscriber key in Marketing Cloud. If not used correctly you could be generating dozens of subscribers for each email address in Marketing Cloud. We’ve seen cases where the subscriber key was the name of the data extension which changed daily. The result was dozens of duplicate subscribers for each email address which diluted the performance of the subscriber and resulted in costly charges as Salesforce charges you by the subscriber in Marketing Cloud.
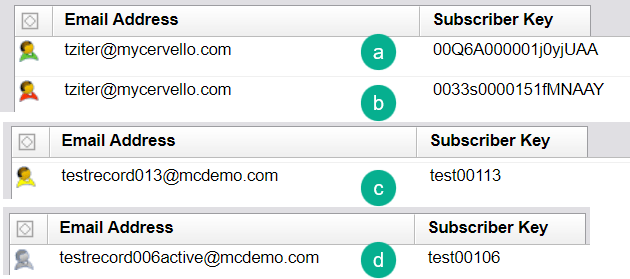
(a) Green Shirt – Active status – good to go, ready to send
(b) Red Shirt – Unsubscribed
(c) Yellow Shirt – Bounced – might want to check to see if the email address is valid
(d) Grey Shirt – Held – this email address bounced three times and is not send-able at the moment.
Double clicking on a subscriber will take you into more details on the subscriber.
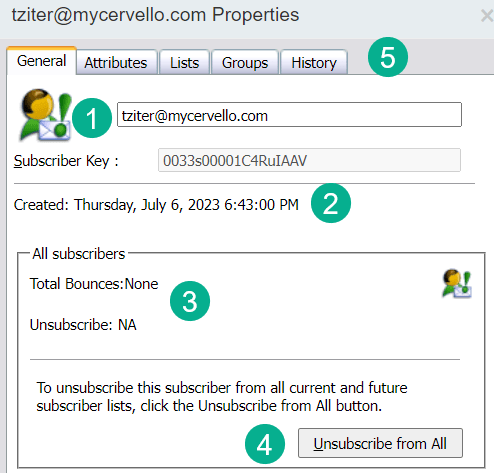
(1) A larger rendition of the shirt color.
(2) The date when the subscriber was created which can be helpful. Please note this isn’t the date the subscriber was synched over from Salesforce Sales Cloud, but the date the subscriber was either imported into All Subscribers or more likely when the first email was sent.
(3) Count of bounces can be helpful to view on a case by case basis.
(4) If you need to manually unsubscribe or re-subscribe a subscriber click this button.
(5) There are additional tabs for more information including the Lists tab where you can see what other lists the subscriber belongs in Marketing Cloud.
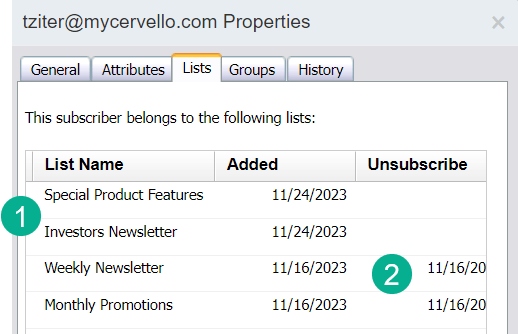
Under the List tab you can view all the lists the subscriber has been added to as well as key information especially when they were unsubscribed from the list.
How to Check Subscribers Status via SQL Query
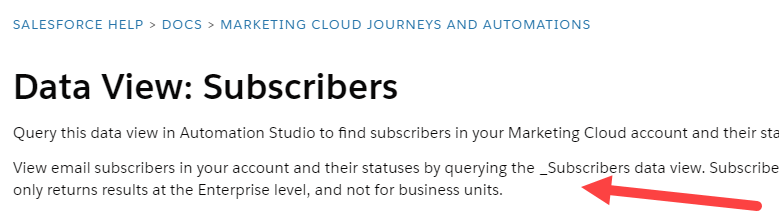
There are multiple ways to check subscriber status Marketing Cloud especially when you want to check statuses in bulk. Marketing Cloud has a treasure trove of data available in data views that you can leverage using SQL. Turns out there is a data view dedicated to just the subscriber: https://help.salesforce.com/s/articleView?id=sf.mc_as_data_view_subscribers.htm&type=5
For most data views like click and send the data is only available for the last 6 months out of the box. The Subscriber data view does not have that limitation. Here’s a sample query pulling the subscriber status from the _subscribers data view.

(1) The syntax for the subscriber data view is _Subscribers
(2) In our Where clause we are only searching for this one subscriber key.
(3) In our select outputting the status and the subscriberkey.
(4) Confirmation of the status as “unsubscribed:.
How to check for subscriber status in bulk
Leverage the Subscriber data view to validate the subscriber status in All Subscribers in bulk:

(1) Checking for all statuses that are in the “Held” status
(2) All records outputted below
We highly recommend installing Query Studio as featured above as it’s a free tool and a quick and easy way to validate data in Marketing Cloud using SQL. The app is free and available here: https://appexchange.salesforce.com/appxListingDetail?listingId=a0N3A00000FP3yFUAT
Please explore All Subscribers whether in the UI or using query studio. We promise when you explore you will find insights about your email file worth discovering!

Leave a comment