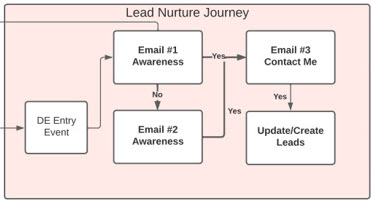
In this session the team builds the beginnings of the Journey pulling in leads and contacts into our nurture Journey. The team creates a new Journey, creates the all important entry event and the Update Contact activity to populate the dedupe data extension.
Build Components
| Asset | Notes/tips |
| Journey Building | Data Extension entry event |
| Journey Building – Update Contact Activity | How to update a Data Extension in a journey |
| Journey Building – Update Contact Activity | Tip: When updating a data extension with this activity the data extension must be sendable |
| Journey Building – Update Contact Activity | Data Binding: How to populate the attributes in the Update Contact activity via Object Activity |
| Journey Builder – Entry Event | How to connect a Journey to an automation |
| Journey Builder – Contact Evaluation | What are the differences between contact evaluation options |
| Automation Studio | How to set up a schedule automation |
Data Binding Walkthrough
Let’s walk through steps on how to fill in the custom data in the Update Contact Activity in Journey Builder using the Data Binding workaround.
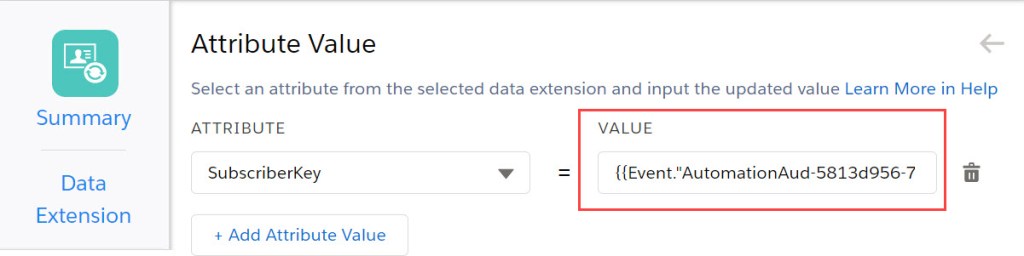
When filling out the Update Contact activity for each field to be populated in the data extension the user needs to enter custom code in the section below:
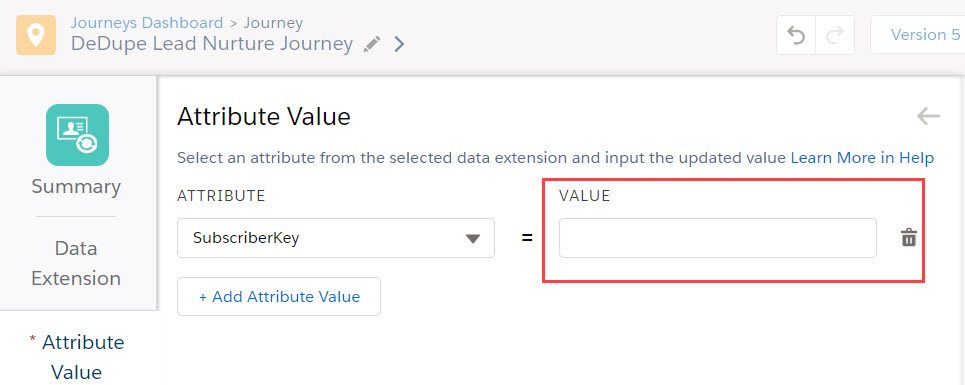
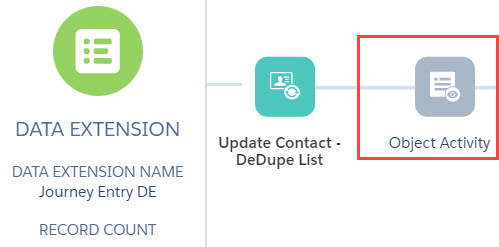
Unfortunately there’s no way in this activity to select this code. To find the code associated with each value, cancel out of this activity and add the Object Activity to the journey canvas.
Select any object (i.e. Lead) and create new object. Select a field that is a text field (i.e. First Name).
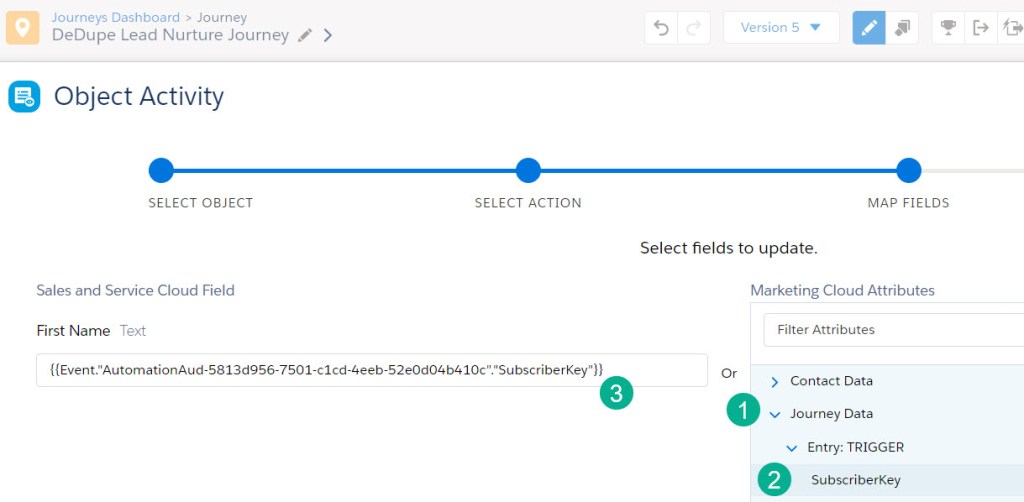
(1) Select Journey Data
(2) Select one of the values that need to be populated in the data extension (i.e. SubscriberKey)
(3) Copy the custom code and paste it into a notepad
Repeat these steps for each value needed to populate a data extension field in the Update Contact activity.
Your Notepad should look something like this:
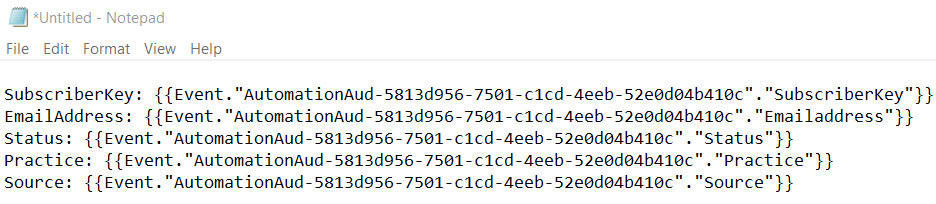
Now you can add the custom code to each attribute in the Update Contact activity.

Leave a comment